Leather furniture provides the ultimate comfort.
The plush, sleek and cool material beneath the skin is like a trip to the spa after a really long day.
Most leather furniture has been pre-treated to a certain degree so that there is a barrier of protection when spills occur.
However, prolonged sitting and certain liquids will definitely damage the leather beyond repair.
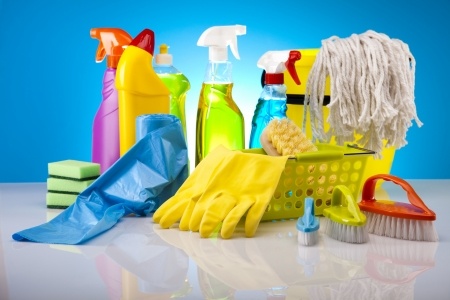
- Leather furniture, in all its beauty, can be a challenge to maintain.
- Leather can become easily damaged by improper cleaning techniques.
- Knowing what products to use and how ahead of a spill are key to protecting the leather when an actual spill occurs.
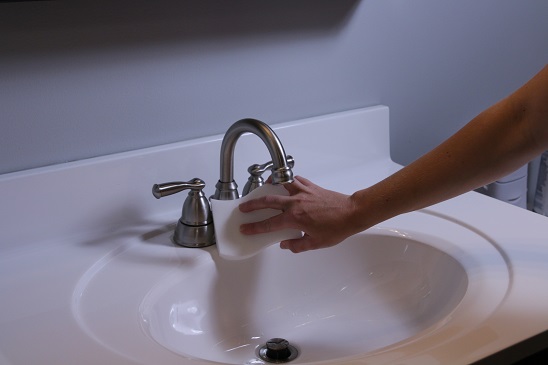
- Most importantly for spills, you will want to clean it up immediately.
- Leather is naturally porous and if the liquid passes the protective barrier on the surface, the stain becomes very difficult to clean.
Make sure all labels are read prior to cleaning and don’t forget to spot test on your couch before you clean it completely.
For example, anything with an oil base, furniture polish, waxed-based products, or ammonia-based cleaners like Windex on your leather, because they will leave the leather feeling sticky and will discolor it as well.
Abrasive cleaners are also not recommended because these cleaners will damage the surface of the leather.
With all of the don’ts for leather cleansers, what to do when you need one?
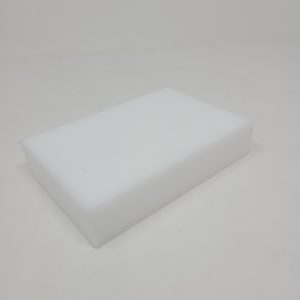
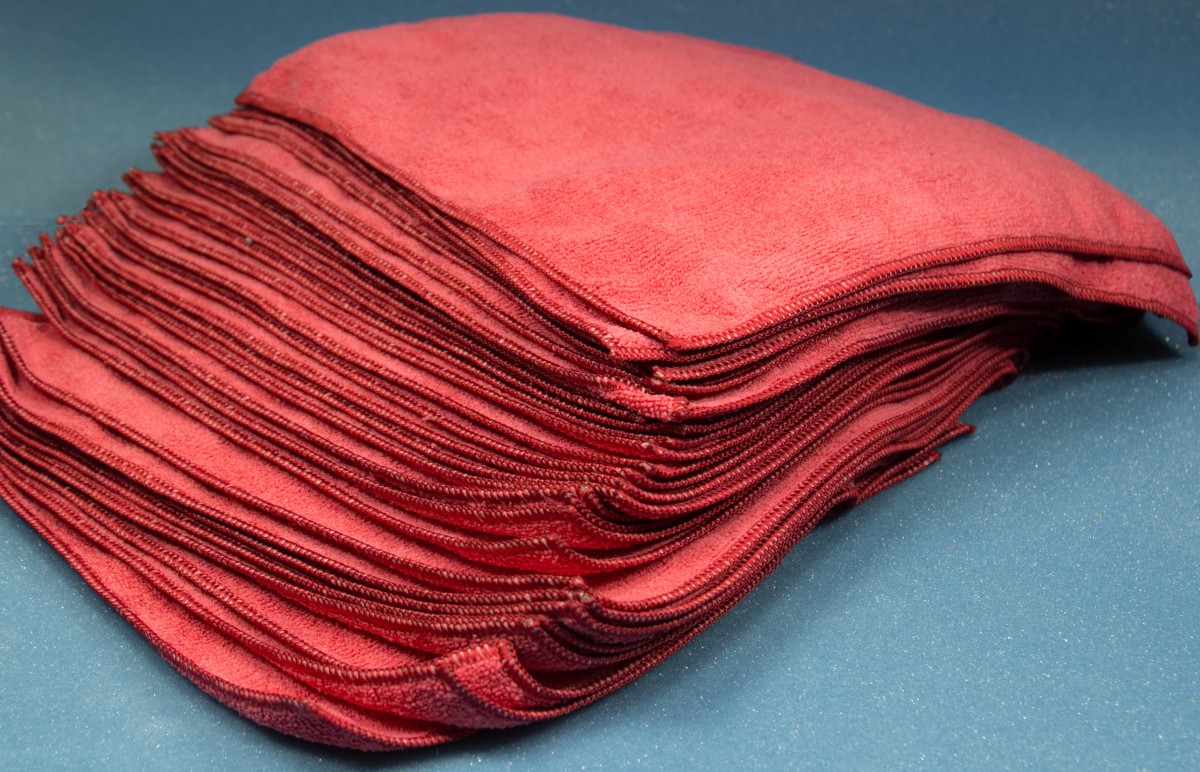
Our melamine foam eraser sponges are a product gentle enough to use on leather. This sponge is strong enough to remove grime, dirt, and stains without compromising the integrity of the product being cleaned.
For leather, the sponge leaves no hazardous residual or chemical odor and is mild enough to not damage the surface of the leather. Using our sponge to clean up spills and stains is quick, easy, safe, and effective.
If you have any questions about or how to use the SpongeOutlet eraser melamine foam sponge, feel free to contact us.


 The first thing you should do is tackle anything that was covered up with dust covers.