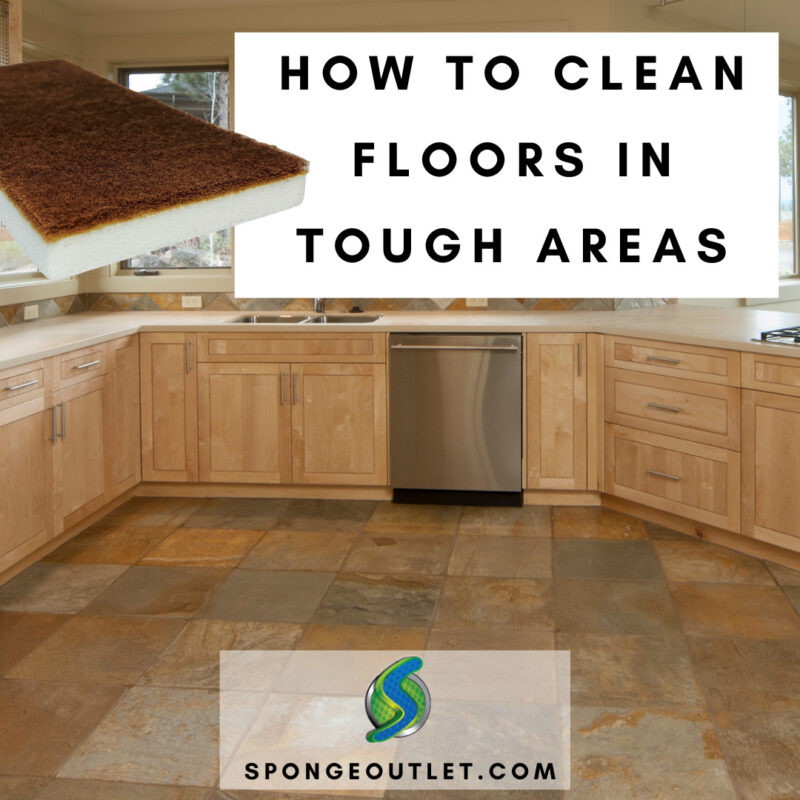
Behind the toilet, under appliances, and high-traffic areas by doors and entrances – all these floor areas can prove tough to clean because they are difficult to access or get very dirty due to their location. Here are the cleaning tools we recommend to do the job.
Caution: Before using an eraser sponge to clean your floor, test it on an inconspicuous area to see if it damages or alters the finish. Make sure the area is completely dry before deciding to apply it to the entire floor area. Eraser sponges are not recommended for the following floor types: natural stone, painted surfaces, or finished wood surfaces.
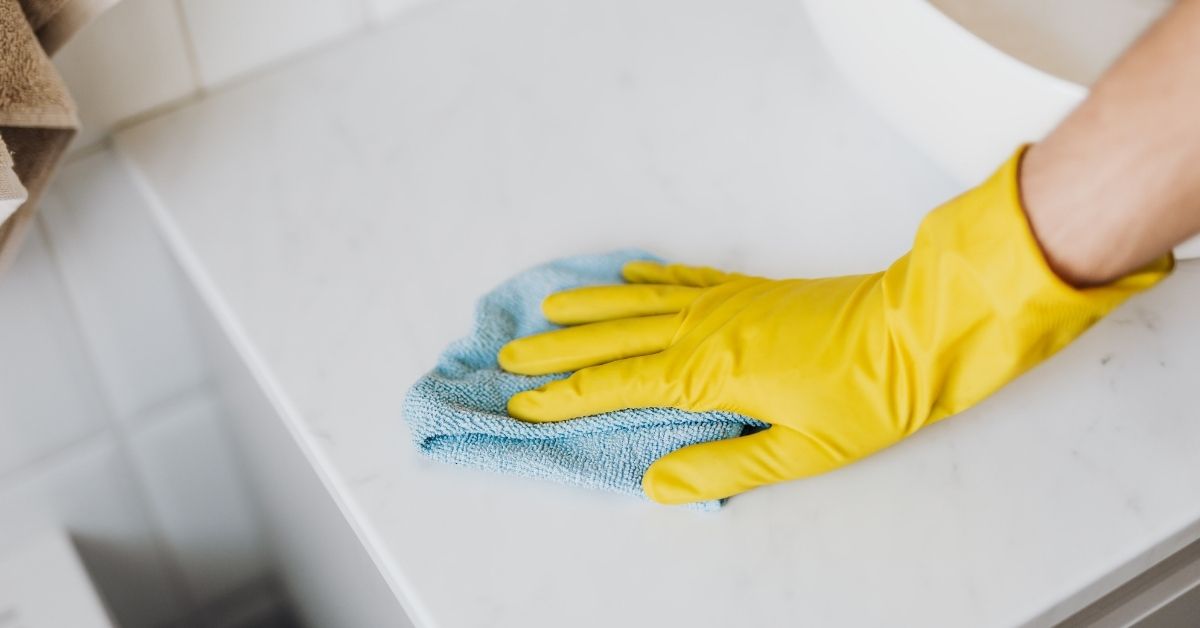
How to Clean Floors in Tough Areas- the Bathroom
Cleaning behind or around a toilet can be tough without contorting yourself. The Eraser Sponge Extension Handle Kit can help you reach behind and around bathroom toilets in order to clean the ceramic or vinyl floor. The extendable handle allows you to reach up high or down low without needing a step stool or resorting to stooping or bending. Use it to Continue reading Cleaning Floors in Tough Areas
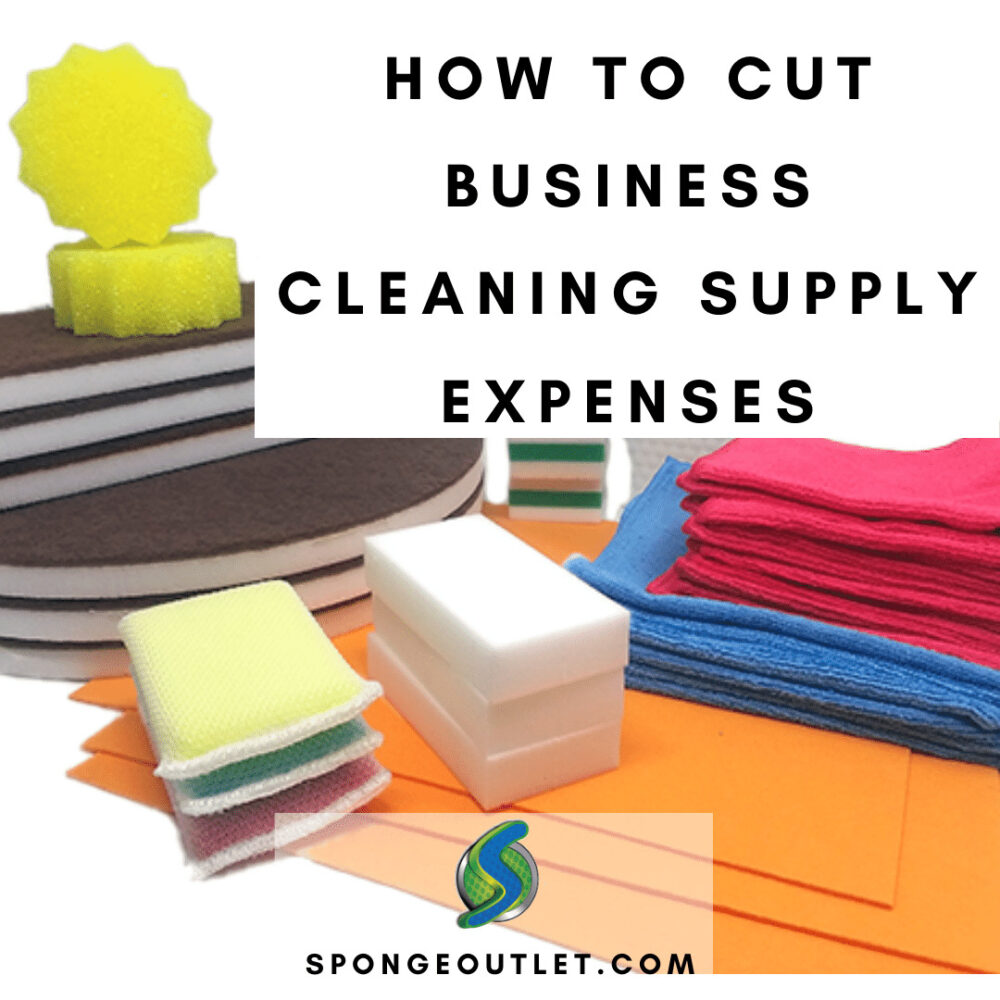
With the cost of everything rising it’s important to find ways to save money within your business. Whether you are a manager at a hotel, resort, facility party equipment rental business or own a commercial or residential cleaning company, here are some ways to save on your cleaning supplies.
Shop Around for Bulk Cleaning Supplies
See if other suppliers can sell it to you for less. Make sure you are still getting the same quality of product when comparing pricing and products. Some suppliers (like us!) will supply you with free samples before you buy, so you can check out the quality.
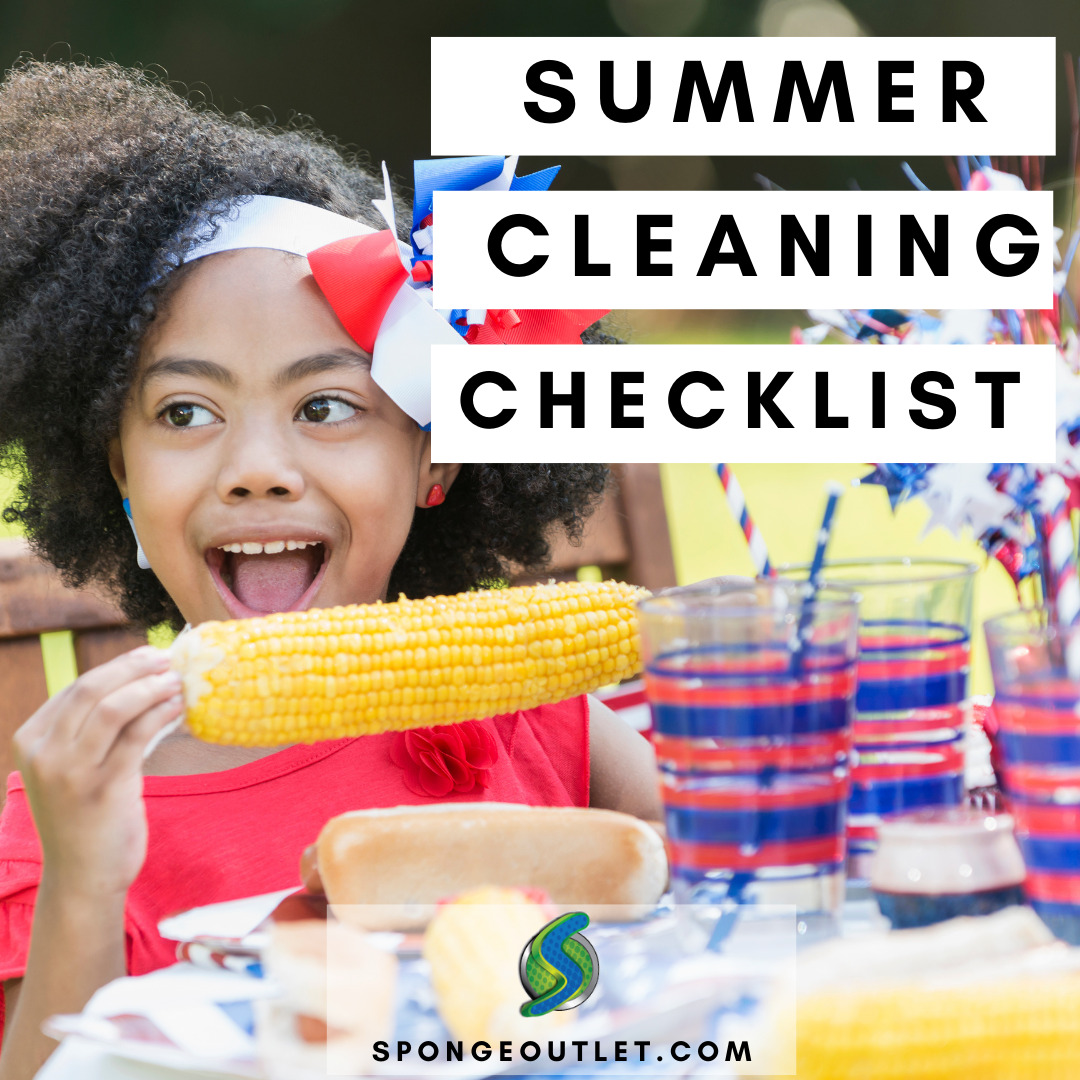
Get your home ready for summer activities, cookouts, and guests with these summer cleaning tips.
Summer Cleaning Checklist Tip 1: Get Your Outdoor Spaces, Ready for the Summer
It’s important to give the exterior of your home and outdoor entertainment spaces a good once-over when the summer starts. Here are the areas you should pay attention to:
Household Vinyl Siding: Use an eraser sponge to remove mold, mildew, dirt, and grime. If you have a large area to clean, our Super S Eraser Sponges (12 Pack) will help shorten your cleaning time due to the their large size.
Windows: Use an eraser sponge to remove any dirt or grime from windows. The eraser sponge extension handle kit can help you reach the upper areas of the window with ease as it extends up to three feet. No ladders or step stools required!
One dishcloth can replace 15 rolls of disposable paper towels during its lifetime. Made from 70% cellulose wood pulp and 30% cotton, our Swedish Dishcloths are super absorbent and can be used in place of paper towels to wipe up spills around the house. After absorbing the Continue reading Save on Paper Towels by Using Swedish Dishcloths
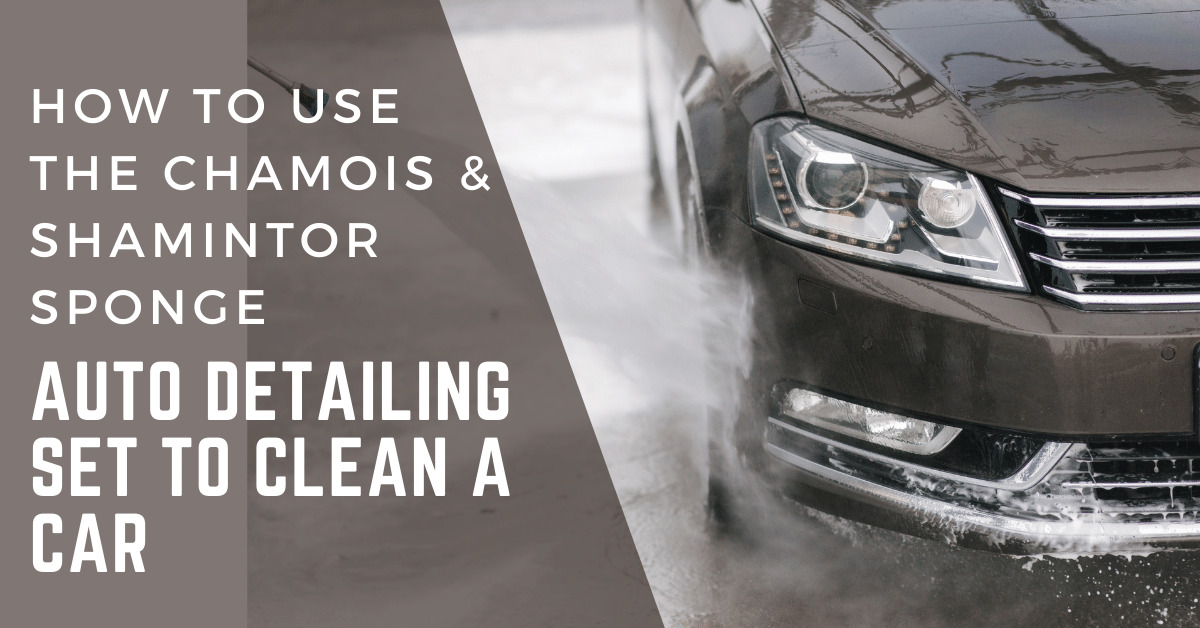
Using this set can save you money on auto detailing supplies because the supplies in this kit are reusable, washable and replace other one-time-use cleaning supplies. Read on to see how to use.
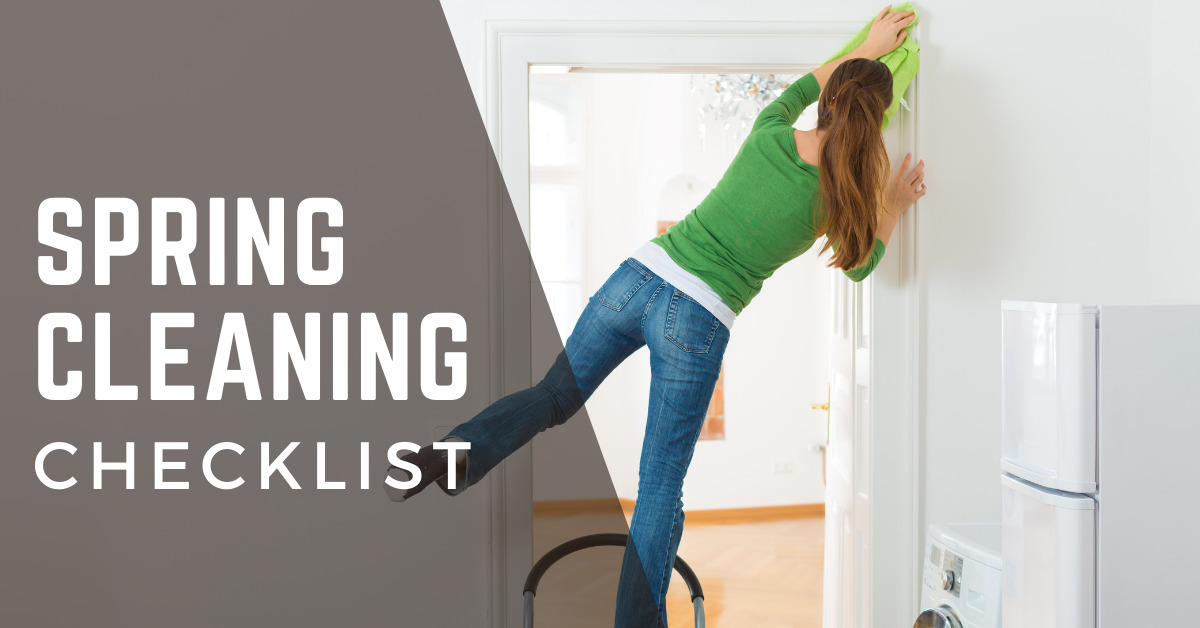
Not sure where to start with your spring cleaning? Here’s a handy checklist along with some helpful cleaning tips
Before You Start:
Gather all your cleaning supplies together. Here’s a suggested cleaning supply list.
Remember to clean top to bottom and left to right in order to maximize your cleaning efforts and to keep from cleaning the same area twice.
Wear gloves to protect your hands.
Put on some music to make cleaning more enjoyable.
Around the House- Spring Cleaning Checklist
Ceiling Fans: Use a microfiber duster to remove any dust that accumulates on the blades.
Shelves: Remove items from shelves and book cases to give shelves a good dusting and polish with a microfiber cloth. Polish the glass on any framed photos.
Blinds: Dust blinds dry first in order to remove dust using a microfiber duster. Be sure to turn blinds in one direction to get as much of the surface area as possible. If dirt still persists after your initial dusting, and if the blinds are plastic, you may need to take the blinds down and soak them in a bathtub to remove dirt and grime. Allow them to air dry outside before re-hanging.
Windows: After a long winter, your home’s windows will need a good cleaning. Window cleaner and a sponge should do the trick. Melamine eraser sheets which are thin and flexible will help you get into tight corners to really get them clean. Don’t forget to wash both the interior and exterior of the window.
Walls: Spot clean your walls using a damp eraser sponge.
Carpets & Area Rugs: shampoo carpets and area rugs. For spot cleaning, use a carpet-safe cleaning solution, a little water and an eraser sponge.
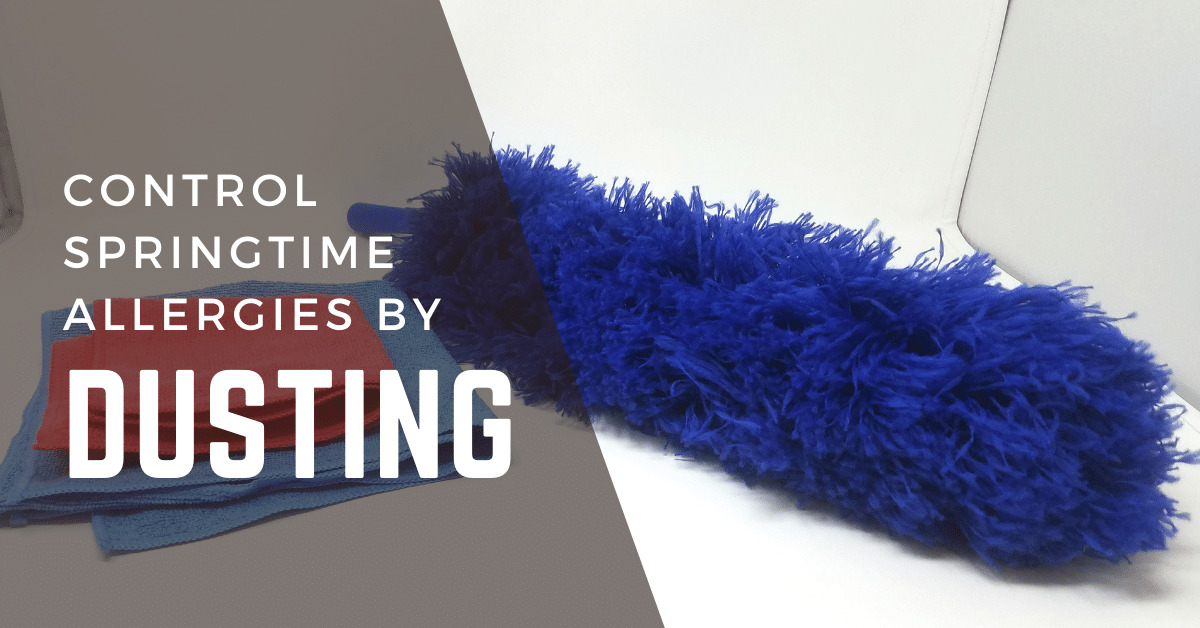
Dusting not only makes your home look nice, it can remove potential allergens from inside your home that could be making you sick.
Dust to Combat Springtime Allergies
Allergens run wild during the spring and this is due to trees, grasses and weeds releasing tiny grains called “pollen” which wreak havoc on your immune system when inhaled. Pollen can cause sneezing, itchy, watery eyes, runny noses and other symptoms. And pollen is not just outdoors; it can make up part of the dust that collects on your home’s surfaces.
Dust is another allergen and the dust inside your home could be made up of pet hair, dust mites, mold and pollen. Surprisingly, allergies could flare up AFTER dusting, because dust particles get stirred up and moved around during cleaning. To prevent this, wear a mask while dusting and use a tool like Continue reading Control Springtime Allergies By Dusting
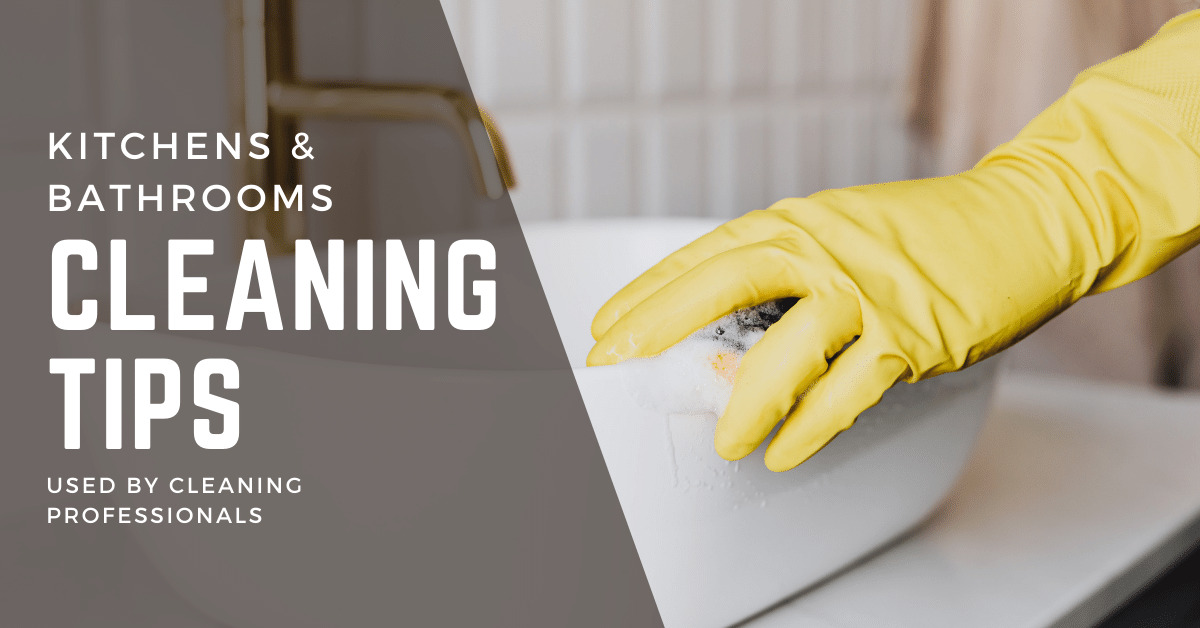
Make cleaning kitchens and bathrooms easier with these tips used by professional cleaners.
Start from the Top and Work to the Bottom
That means start with dusting high areas like the tops of cupboards or kitchen cabinets or the bathroom vanity. Use a microfiber duster to trap dirt and dust and not just knock it to the ground, or on to lower counter tops or shelves.
Whether you’re using your boat on the lake, or in the ocean, you will want to make sure you keep it clean, especially before winter storage. Salt or other forms of grime and scum can build up and damage your investment.
Spray Down Your Entire Boat with Water
Spray your boat down with water starting from the top and working your way down. If there is salt, give it a few minutes to let everything dissolve after spraying with water. Then, hose it down again. It is best to have your boat lifted in order to get to the undersides as well and spray down the engines. A pressure washer works wonders.
As for cleaning products, there are plenty of commercial boat cleaners on the market. Just make sure to check that they are suitable for your boat’s material. Apply using an absorbent sponge or soft scrub brush.
Clean the Livewell or Baitwell
The livewell or baitwell is sure to have gathered some nasty stains and smells throughout the season. For the interior, a non-toxic cleaner is best as it will not be detrimental to any fish or bait placed inside the livewell. Baking soda and water will help neutralizer any odors and is a great non-toxic cleaner. Use an eraser sponge with a scrubber pad from SpongeOutlet.com to scour any stains or water scum from the interior. Be sure to rinse well.
Clean Vinyl Seats and Consoles
Eraser sponges can also be used for detailed cleaning without harsh chemicals on vinyl seats and plastic consoles. Use them to remove scuff dirt and grime and scuff marks. For cleaning larger areas, consider using SpongeOutlet’s Giant Sized Boat Eraser Sponges.
Be sure to protect vinyl seats from the UV rays of the sun, by using a protective seat cleaner. Protective cleaners will help prevent any cracking or discoloration caused by sunlight. Wipe off cleanser with a microfiber towel.
Sponge Outlet is your source for boat eraser sponges, microfiber towels and other cleaning supplies.
Now is the time to test and clean your oven in preparation for Thanksgiving Day. Cleaning takes time and it’s not something you want to put off.
Why Should I Clean My Oven?
According to appliance manufacturer Whirlpool, a clean oven cooks food more evenly and smells better versus a dirty oven. Grease and food spills can gather inside of the oven’s interior, darkening it and making the oven work harder to evenly cook food. Any spills can start to smoke and produce unpleasant smells. These smells might affect the taste of any food you cook inside it.
How to Test Your Oven Before Thanksgiving Day (Easy)
If you have not turned on your oven in several months, make sure it is working properly by baking something simple like a frozen pizza or cookies. Thanksgiving is already a very busy time for appliance repair businesses so if something is not working right; you want to know as soon as possible in order to schedule an oven repair.
Using an Oven’s Self-Cleaning Cycle
If you are planning on using the self-cleaning feature of your oven, do it a few weeks before Thanksgiving. A self-cleaning cycle reach’s incredibly high temperatures in order to incinerate food particles, dirt and grime inside your oven. The cycle takes a long time to run and the oven door locks as a safety precaution. Self-cleaning cycles can also produce smoke and smells that might linger inside your home. Be sure to open windows and keep the room well-ventilated when running the self-cleaning cycle.
If your oven is several years old, it might prove risky to run a self-cleaning cycle so close to Thanksgiving Day. During these cycles, there is a good chance that any weakened parts might break, leading to a needed repair. Thanksgiving is already a very busy time for appliance repair businesses and they may not have the part they need to fix your oven in stock.
Eco-Friendly Options for Cleaning an Oven
You may decide that cleaning your oven by hand is best. To clean your oven, first consult the owner’s manual for your oven to see what to use and what not to use when cleaning your oven. If you no longer have the owner’s manual, you can search for it online using your oven’s model number which should be located somewhere on the oven or range.
Let an oven completely cool before cleaning it. Put down towels or a plastic garbage bag to catch any drips or dirty water from cleaning and to protect your floors. Remove any oven racks. Make your own DIY eco-friendly oven cleaner by mixing together a paste of baking soda, dish washing liquid and a little water. Let the baking soda mixture sit for 30 minutes to overnight. Use a spray bottle filled with vinegar or lemon juice to spray inside the oven for added cleaning power on tough grime and grease. Scrub the walls clean using a non-scratch scrubbing sponge like the Instant Erase Super Star Scrubby or SpongeOutlet’s non-scratch cleaning pad.
Remove the oven racks and clean them by soaking them in a sink or bathtub using the same mixture. Rinse and wipe clean.
Remove any trace of your home-made cleaner before turning on your oven with a damp microfiber cleaning cloth. After your oven is clean, turn it on to make sure there is no smoking from left-over cleaner.