Room-by-Room Fall Cleaning Checklist for Inside and Outside the House

Room-by-Room Fall Cleaning Checklist for Inside and Outside the House

Get your home prepared for the upcoming holiday season and beyond with this helpful Fall Cleaning Checklist for inside and outside the house. This list may seem overwhelming, so complete similar tasks together, or go room-by-room.

For the sake of simplicity, this list will assume that daily cleaning tasks like mopping or vacuuming floors, wiping counters and washing dishes gets done daily, so those items will not be included. Instead, we are including items that are not cleaned so frequently and that you may be overlooking.

If you plan on hiring a professional to deep clean your home, or clean your carpets, make sure you schedule them as early as possible. Cleaners cannot always fit you into their schedule on a last minute basis and are very in-demand leading up to the holiday season.

Kitchen Fall Cleaning Checklist

  • Clean the oven, then test it.
  • Empty the pantry and dispose or donate any unwanted items. Clean the shelves with a Non-scratch scrub sponge like our non-scratch Monster Scrub Sponge or Non-Scratch Cleaning Pad.
  • Clean or change-out any over the oven range hood filters. Greasy dirty filters cannot do their job properly and let cooking smells linger in the kitchen and home, so be sure to either clean them or change if your filter is disposable.
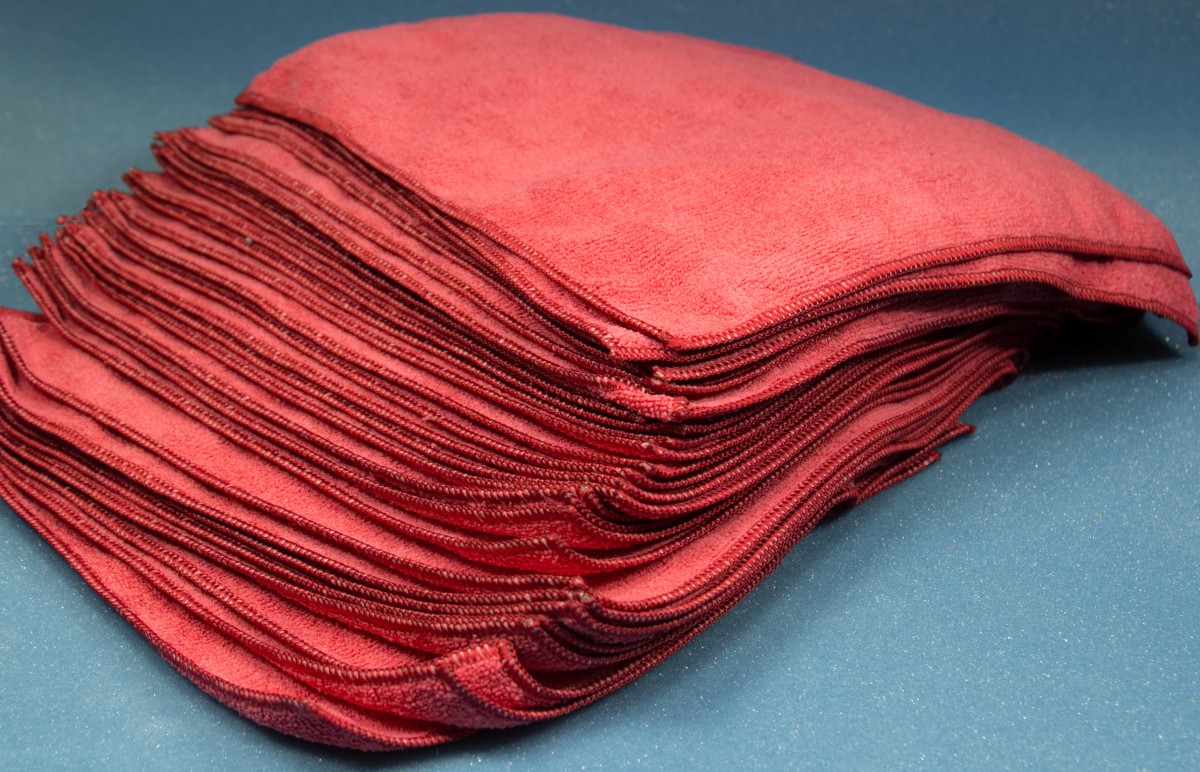
  • Clean out the refrigerator and freezer disposing of any expired foods. Remove and wash shelving. If your kitchen sink is not large enough, fill a bathtub with warm water and add a few drops of dish soap. Use a non-scratch scrub sponge to clean all shelving. Dry with a microfiber cloth and return shelving and food to the fridge.
  • Vacuum refrigerator’s condenser coils. Doing this will help allow your refrigerator to work efficiently and could extend the life of your appliance.
  • Clean garbage cans using an outside hose and scrub sponge.
  • Deep clean the dishwasher.
  • Degrease and clean cabinet doors and backsplashes. Use a flexible microfiber dusting wand to dust the top of cabinets and walls.
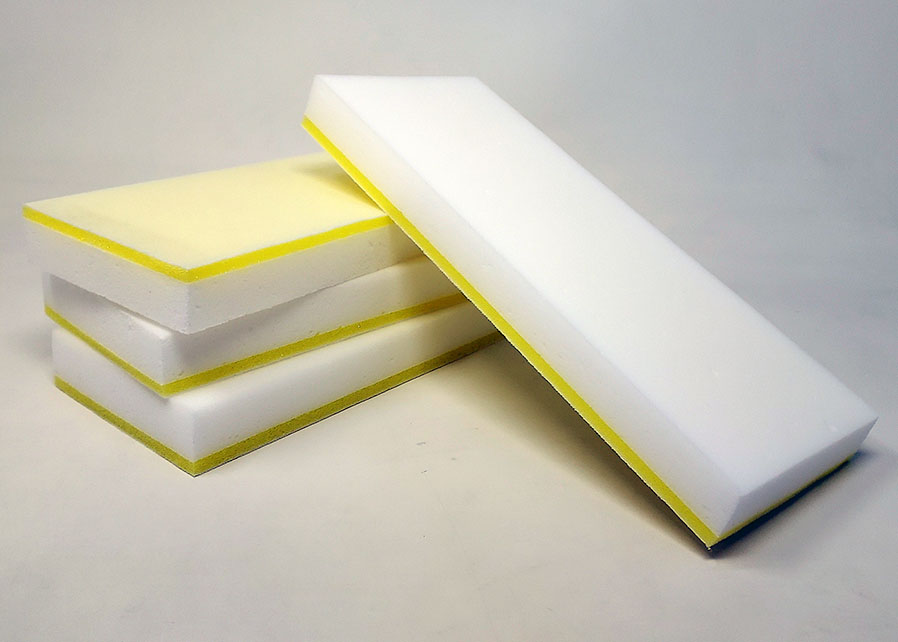
  • Use an eraser sponge to remove any dark scuff marks, dirt and grime from walls, doors or baseboards. Save your back and use our Eraser Sponge and Extension Handle Kit.
  • Make sure you’re stocked up with extra cleaning supplies for cleaning up from any holiday gatherings and meals.

Continue reading Room-by-Room Fall Cleaning Checklist for Inside and Outside the House

Cleaning Your New Baby’s Room

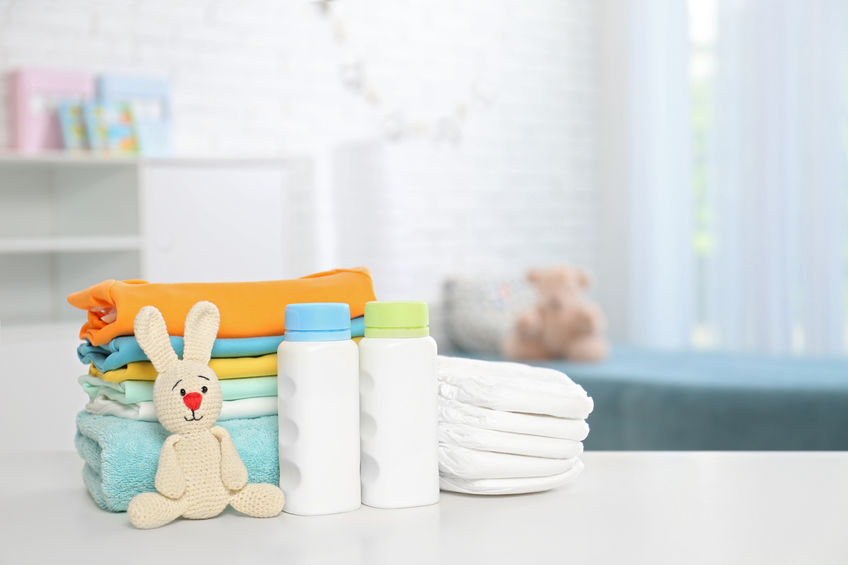
Baby accessories on table in nursery room. Space for text

Here’s how to make sure your home and new room is ready for baby

Clean Hand-Me-Down Furniture

Since babies grow so fast, using used or donated furniture is a great way to save money. You may also have pieces from previous children which you can reuse. Prepare any cribs, changing tables, or rockers by giving them a thorough cleaning. Be careful using cleaners with heavy scents as these can irritate the eyes, skin, nose and throat of a young infant. Use a gentle soap and hot water to disinfect any surfaces.

When it comes to cleaning furniture or walls, an eraser sponge from SpongeOutlet.com contains no harsh chemicals and only uses water and the power of gentle scrubbing to remove dirt and grime. Eraser sponges can also remove adhesive from stickers and marks from crayons from walls and furniture.

Give the Room a Through Dusting – Including the Vents

Keep allergens low and away from your new baby by giving the room and contents a thorough dusting. A damp microfiber cloth or dusting wand will help remove dust. Don’t forget to also dust any vents. Dirty vents can distribute dust and allergens from other areas inside the home. Make sure they are clean and clean any in-room vents as well.

Keep a Cleaning Routine & Cleaning Tools on Hand

After baby comes home, it is important to keep cleaning every day. Keep eraser sponges around to safely clean up any dirt of marks on the crib or changing table. An eraser sponge with soap also has the added advantage of providing gentle disinfecting when used with hot water.

Babies are known for their ability to make a mess out of nothing, so it is important to make those messes easy to clean up. Using disinfecting wipes often combined with frequent use of eraser sponges can keep your baby’s room shining and clean, until they become a toddler. Then, you will need a larger box of sponge erasers for all the artwork they leave you!

Whatever cleaning tools or detergents you decide to use, be sure to keep them out of the reach of tiny hands. Lock them securely inside a cabinet with a baby proof lock, or store them high up in a cupboard and out of the reach of children.

As always, if you’re not entirely sure of using an eraser sponge on any surface, test a non-conspicuous area first. If you still have questions or concerns, feel free to contact us at customerservice@spongeoutlet.com.


The Importance of Proper Cleaning for Hotels

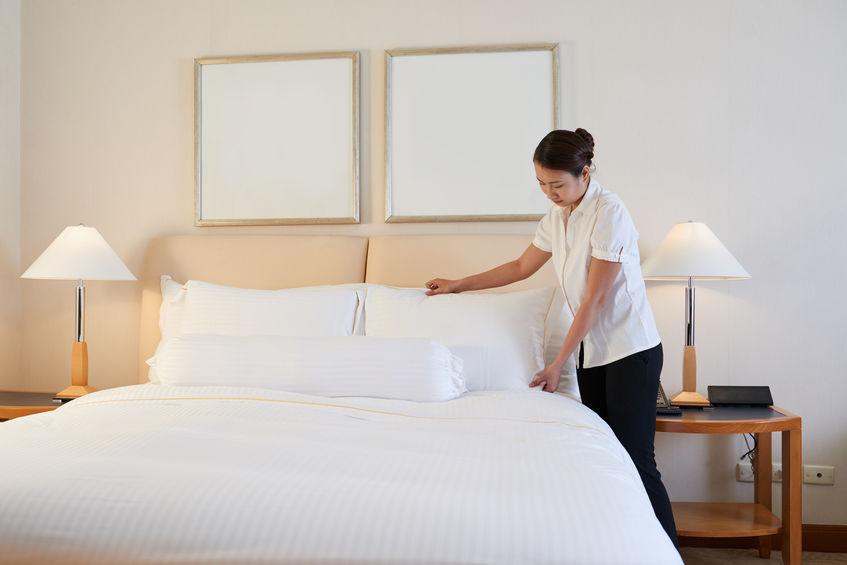
Cleaning staff for hotels

Hotels need to be in good, clean condition in order for people to desire to stay at them. All hotels have cleaning staffs, but not all have the proper cleaning supplies to ensure quality and cleanliness year-round. At Sponge Outlet, we can provide your hotel staff with the proper cleaning supplies to ensure quality, cleanliness, and an environmentally friendly atmosphere for your guests.

How Can We Help?

Our cleaning products are non-toxic and only need water to get the work done. A hotel staff has a short amount of time and many rooms to clean. Our melamine eraser sponges are extremely efficient for hotel and motel cleaning crews. We can provide your staff with eraser sponges at wholesale, so you don’t have to worry about purchasing more cleaning sponges a week later. We also provide plenty of other cleaning products like dusting wands and monster scrubby sponges.

The Benefits of Proper Cleaning Supplies

When you invest in the proper cleaning supplies from Sponge Outlet, your hotel and motel cleaning staff will feel much better about the cleaning performance in the rooms. It will allow your staff to clean efficiently and properly.

  • Cost-Effective
  • Non-Toxic Cleaning supplies
  • Easier Cleaning Tasks
  • Higher-Quality Products w/o the brand names

Hotels need the best cleaning supplies for their staff. The world was hit with a bad pandemic in 2020, and it gave people a real scare. Everyone took a step back and looked at how hygiene, cleanliness, and sanitization habits were approached. Now, everyone is aware of the importance of cleanliness to curb all bacteria, diseases, and viruses that can affect people on a daily basis.

If you’re looking to take the next step in cleanliness at your hotel or motel, invest in the right cleaning supplies, sponges, and other products with us. Contact Sponge Outlet at 877-776-6430 today or visit us online for more information!


How to Dust Your Entire House

Conceptual image of home cleaning. Close up of human hand with yellow rubber glove showing ok sign with thumb up. Cleaned kitchen in background

One thing every homeowner knows is that dust is relentless. If you let it go for too long, you will feel overwhelmed with the process. After a day or two, dust is everywhere in the home, high and low.

Sometimes homeowners just give up and are overtaken by dust bunnies. This makes the home look unkempt and can be unhealthy for those with allergy issues. There is an effective way to dust your entire home thoroughly. It will keep your living space neat, and your environment, healthier.

Your Dusting Tools are Important

Choosing the right dusting tool is a key factor to making dusting your home easier. Microfiber dusting wands are the best option to gather all of those hidden particles and are also quite affordable to purchase in bulk.

Get Organized

Most people tend to dust in a random fashion.  Because dust is everywhere, no one knows where to start.

  • It is best to organize yourself and create a simple layout of the home.
  • Label the areas of the home by numbering them and follow the pattern you’ve laid out.

No Need for Any Harsh Chemicals and Sprays

If you have kids or pets, you may want to avoid using harsh dusting sprays and chemicals. With a microfiber wand, you are able to dust your entire home without the use of any of these products. This is another way the microfiber dusting wand saves you money and helps you to create a healthier home environment for your family.

Clean Your Floors Last

It is smart to save the floors for last. After dusting all the high areas in the home; work your way down. So ideally, you will create your dusting plan, in a circular, up and down pattern. If you have tile floors, clean the floors by vacuuming and mopping. You will rid your home of any remaining dust that might have fallen from shelves, cabinets, and ceiling fans.

Visit us online for more information about our dusting products to help clean your home and getting rid of hazardous dust.


Unique Uses For Your Eraser Sponges

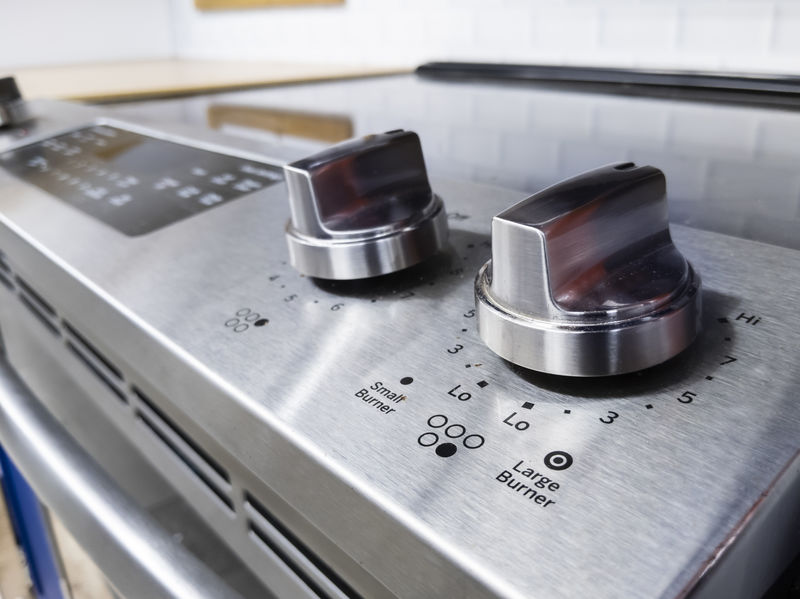
Using eraser sponges to clean your stove tops

As the warmer weather starts to show itself, cleaning becomes a necessary task for homeowners all around the country. Cleaning is often a dreaded task, but with the eraser sponge; you can clean your kitchen and bathrooms with more ease and even teach the kids to use it, making household chores less stressful and easier.  But one of the most exciting things about the eraser sponge is the discovery of uses that are quite unique, but extremely helpful to know about.

Pet Slobber on the Windows

For those of us who know what it’s like to have pets; dogs in particular love to press their little faces up against windows and glass doors, leaving saliva stains. Use an eraser sponge to give your windows and glass doors a good cleaning to return them to their sparkling days.

House Siding Can Get Dirty During the Winter Months

It’s the summertime season, and most families want to entertain outdoors. Green mildew that builds up on porch columns and vinyl siding can be quite unsightly. It works wonders in bringing the shine and newness back to your white columns and siding, and ridding them of that terrible looking green, mossy, mildew.

Glass Stovetops

Glass stovetops are becoming increasingly popular, especially because of electric stovetops.  They create a modern and stylish look in your kitchen area, but they can also be difficult to keep clean. Between battling grease stains, food splatters, and fingerprints; your glass stove top can appear years older than it actually is. With the eraser sponge, you can keep your glass stove top clean and free of dirt, food grime, and fingerprint smudges.

Cleaning the Interior of Your Car

That’s right; the uses of the eraser sponge never end. Eraser sponges are perfect for cleaning the interior of your cars. Your dashboard can be free of grease, ink, and smudges from those cute little kiddy hands and doggy prints. The eraser sponge allows you to get into all the small areas of the interior, which allows you to restore your car interior back to its original beauty.

As you continue to use your eraser sponge around the house, on porches, patios, and other outdoor spaces; you will come up with your own unique uses for this magical cleaning product that will surprise you.

Contact Sponge Outlet at 877-776-6430 today or visit us online for more information!
Wash Your Windows Like the Professionals!

cleaning windowsWhile nobody really likes to do chores around the home, there are some that are admittedly easier than others.

  • Take out the trash? No problem.
  • Make the bed? Not bad.

But washing the windows? That can certainly be a pain.

Just think of all the times you sprayed window cleaner trying to clean it up and inhaled all those chemicals.

Not only does it not smell nice, there were often times fibers left behind from your paper towel!

Now that can be a pain!

However we have a method that is used by window cleaning professionals that will change how you clean your windows! This method will help get your windows completely clean.

Here is what you will need for window cleaning:

Here are the steps to cleaning your windows:

  • First, put a couple drops of the dish detergent into your container and add a few inches of water.
  • Dip the scrubby pad into the water and squeeze out.
  • Then, scrub the glass down.
    • Between the dawn and the scrubby pad, the dirt will come off and there will not be any residue.
  • Once you have scrubbed everything loose, use the squeegee on the window starting at the top.
  • Work your way down and wipe the squeegee off each time with your cloth.
    • The better quality your squeegee is, the less streaking there will be which will leave your windows looking cleaner.
  • You may need to wipe around the edges of the window in order to absorb leftover water and/or dirt.

You will see a noticeable difference with this method and your windows will come out much cleaner!

Make Your Home Smell Great!

Tips for a fresh-smelling home. DIY

Nothing makes you smile quite like coming to a home that smells wonderful and inviting.

Luckily there are lots of simple DIY ways to achieve this that are inexpensive. Check out the do-it-yourself scent recipes below.  You may already have many of these item inside your home.

Taking just a little bit of time to improve the smell of your home can really do a lot for your mood!

See which of these options below works best for your home.

DIY Fresh Lemon Spray for Rooms and Home

A few simple ingredients that you probably already have in your house is all you need to do in order to give your home a great citrus scent. This simple DIY air freshener  is a fresh-smelling clean that doesn’t smell like harsh chemicals.

Directions: combine 1/8 cup of baking soda with 2 cups of hot water and ½ cup of lemon juice.

One you mix your ingredients, pour it into a spray bottle, shake well, and then spray the scent in the air.

Try Dried Lavender in a Jar to give your home a lasting pleasant smell

Combine equal amounts of dried lavender buds and baking soda into a jar.

  • Shake it up.
  • Add three drops (there will be 24 total) of lavender scented oil and then shake the jar.
  • Continue to do this until you reach 24 drops.

You can place the jar in a room to enjoy the scent, or you can add a lid with holes in it for a more subtle scent.

DIY Fridge De-Odorize – Oranges in the Fridge

Many people already have oranges that they buy- so why not use the peels?

  • Save any orange peels and place in a jar with salt.

The orange will give off a nice scent, while the salt will draw in the unpleasant ones. Use this inside your refrigerator to it smelling fresh.

Eucalyptus Leaves

Add a few sprigs of dried eucalyptus leaves in a vase or glass and place around the house. Not only will it smell nice, but it will look nice too!

Easy Lemon Trick for Destroying Foul Garbage Disposal Smells

Take the peels from three lemons and chop them up into small pieces.

  • Place them in an ice cube tray (2-3 pieces in each slot) along with 1 ½ cups of distilled white vinegar.
  • Place filled cube tray  into freezer.
  • Once your new garbage disposer cubes are frozen solid, transfer into a freezer bag and use whenever your garbage disposal needs a pick-me-up.

Not only will it smell good, but the ice helps sharpen the blades so it’s efficient, as well!

Consider the Season

Gather up some pine cones and drop in a few scents of your favorite essential oil.

To switch it up, think about the time of year. Cinnamon is great for fall, floral scents for spring, fruity scents for summer, and pine for winter- just to name a few.

Don’t Forget the Staples

For many, it’s easiest to go back to the basics.

Scented candles, incense, and reed diffusers are all very easy to use and all you have to do is pick them up at a store. Many of them even come in visually appealing options.

Find the Cause of the Smell

Your best bet is to figure out where the smell is coming from in the first place.

It something doesn’t smell quite right, there tends to be good reason for it!

Before adding additional smells into the home, take some time to assess where the bad smells are coming from. Sponge Outlet has many cleaning supplies that can help make it easier for you  to enjoy the better smells in life!

A Guide for Cleaning Your Basement

Basements are notorious for being dark, damp, and sometimes even a little spooky.

But if you clean them up and organize them, you might find they aren’t quite so bad.

Here are some of the things that you will need to clean a basement:

  • Sponges- 1 regular sponge & 1 eraser sponge handy
  • White Vinegar
  • A Soft cloth
  • Dish-washing liquid
  • Bucket
  • Ammonia
  • Drop-Cloths
  • Rubbing Alcohol
  • Tools like vacuum, broom, dustpan, mop
  • Baking soda
  • Batteries
  • Clay cat litter and pan

Begin cleaning the basement by gathering up your materials and keeping them in one place.

Consider listening to some music while you work.

dirty basementThe first thing you should do is tackle anything that was covered up with dust covers.
Take them outside to get rid of the dust, and then throw them in the washing machine. Wipe down any items that were covered.

Next, wipe down the outside of the furnace and the hot water heater with either sudsy water or equal parts water and vinegar.

  • If you want to make sure that all of the dirt and debris are off, however, we suggest using an Eraser Sponge.

Then, mix together a gallon of warm water, a cup of ammonia, and a teaspoon of mild dish soap.

  • Put down a drop cloth near one of the walls and clean them using the mixture you just created.
  • If you happen to find mold, clean it with hot soapy water. Make sure it is thoroughly dried afterward! Do this to all the walls.

Once you have done that, clean the windows.

  • If you don’t wish to use a window cleaner, you can use a mix of 1 pint rubbing alcohol, 2 tablespoons ammonia, and 2 tablespoons of dish soap. Then, wash the windows.
  • Rinse them and buff them dry.

Next, move your attention to the floors.

  • You can use baking soda on hard floors and carpets. This will neutralize odors.
  • Once the area is covered, you can sweep it/vacuum it up, and then throw it out.

While you have your vacuum out, take a moment to gently vacuum the smoke detectors and get rid of any dust that might be on it.

  • This layer of dust could affect their sensitivity and how well they work.

To make your floors shine, mop them.

  • If you really want to detail clean it, scrub it by hand, starting on the outside of the wall going in toward the center of the room in small, circular patterns.
  • This is also an excellent time to use an Eraser Sponge!

What valuable tips have we left out? What do you do in order to clean your basement?

Eraser Sponges: Room by Room Cleaning

cleaning your homeCleaning your home can be fun and rewarding again!

Using an Eraser Sponge, you can clean and see results immediately.

We have compiled a room-by-room cleaning list for areas you may want to use your next shipment of eraser sponges on:

Kitchen

  • Set in tea and coffee Stains on mugs, pots and maybe even counter tops
  • Small nooks and crannies of small electronics such as can opener or hood of stove
  • Microwave inside and out
  • Grout of backsplash or tiled flooring
  • Refrigerator handles and doors
  • Remove cooked on stains of pots and pans

Living Space

  • Baseboards or floors of scuff marks or stuck on grime
  • Coasters and end tables
  • Dried paint from door hinges

Bathroom

  • Build up of mildew, hair care products, and toothpaste from sinks, cabinets, floors, and tubs
  • Rust and corrosion of pipes under sink
  • Remove stains on toilet seats and in toilet bowls
  • Nail polish spills or stains
  • Hair dye stains
  • Bathroom mirrors

Bedrooms

  • Scuff on walls and baseboards
  • Carpet stains
  • Stuck on grime and stains of dressers
  • Removes adhesive from stuck on stickers
  • Clean doll faces

Outside

  • Clean pool steps before storing for the winter
  • Clean plastic coolers inside and out
  • Clean lawn ornaments from the weathering of leaves and mildew
  • Shelves and grates of grill
  • Green algae on bird baths, sidewalks or other cement items
  • Clean boats and outdoor furniture
  • Bicycle including tires and handle bars
  • Inside your car including dash and steering wheels
  • Brake dust on car rims
  • Soap scum and oils from hot tub
  • Bugs on windshield and grill
  • Small scratches on car


Deep Cleaning Your Bathroom

magic eraser cleaning a bathroom sink

Deep Cleaning Your Bathroom with help from Eraser Sponges

A new year means a new start at making this year better than last year.

One of the best things you can do for yourself is give yourself a clean house.

It won’t happen overnight but you can start with one room at a time. First let’s start with the bathroom.

Fully Cleaning the Shower

Take the shower head off the wall and place in a bag with white vinegar.

  • Tie up the bag and let set overnight.

Take down your shower curtains and wash them in your washer with a few towels.

  • The towels will act as micro scrubbers.

Then use your eraser sponges to clean all the nooks and crannies of your shower, including doors and tiles.

Use an Eraser Sponge on the Walls

Use the Eraser Sponge to remove all mildew spots from tiles and grout.

If you come across very stubborn spots use a tooth brush with bleach to get it all clean.

Scrub Down the Toilet with Sponge Eraser

Put a cup of baking soda into the bowl and let sit for a few minutes then flush.

  • All spots should be gone, if not use a piece of an eraser sponge to get stuck on spots.
  • Then you can continue to use other parts of the eraser sponge underneath the toilet seat and on the outside of the toilet.

Now you need to clean that toilet brush- using the toilet seat to hold it between the bowl and the seat, pour bleach on top of it. Then clean out the brush holder by letting it soak in soapy water.

Get spots and grime off of the Sink

deep cleaning bathroomUse white vinegar to pour down the drain and flush with hot water.

  • Then use eraser sponges to clean the faucet and vanity top.

To get into the tiny cracks under the faucet handles use dental floss to pull out all grime.

Hand Towels

Use the sanitizing setting on your washer to clean them. Or even better just replace them every 3- 4 days.

Tackling one room at a time will help you start to see a visible difference in your home.

[msh_feedburner]